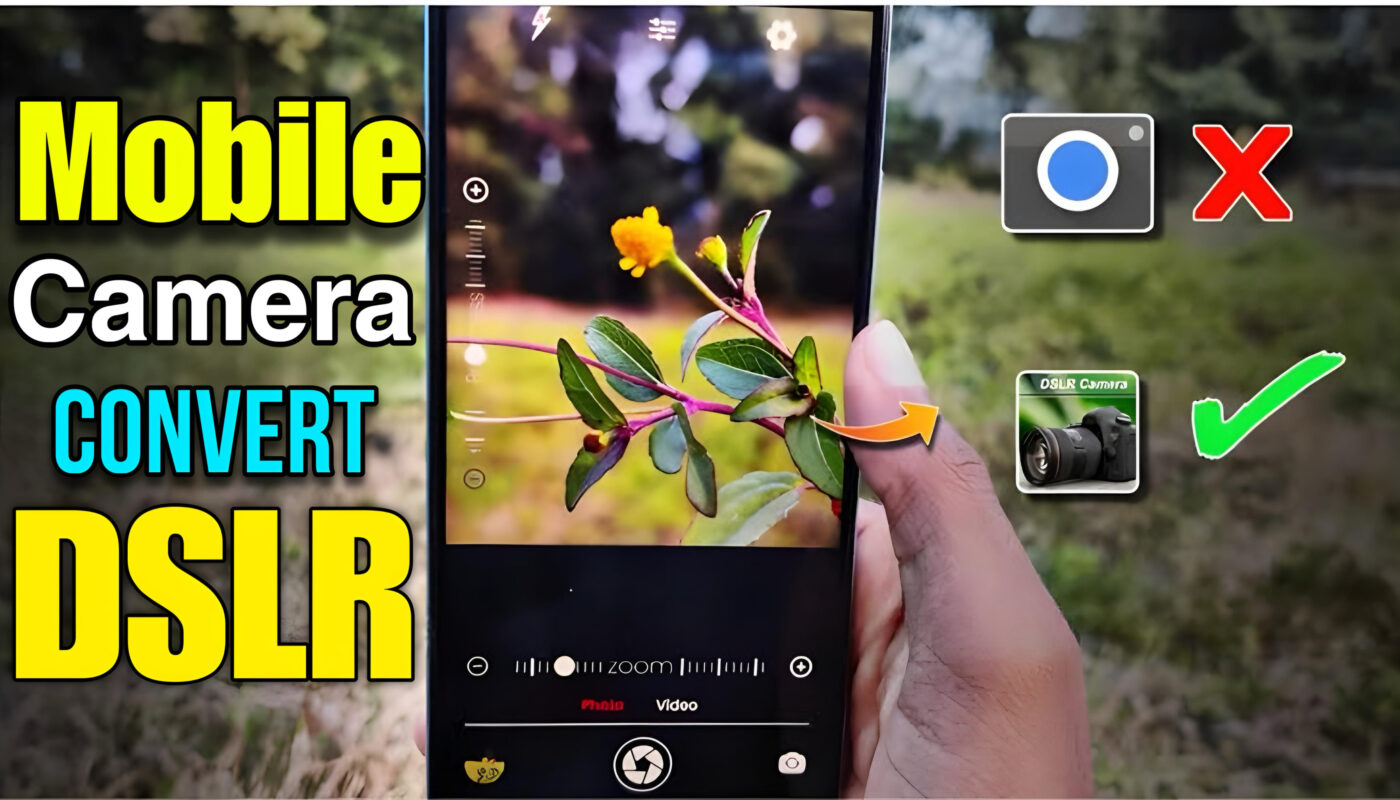
How to Convert Camera Quality on Mobile to DSLR Performance. The cameras of smartphones have seen phenomenal development in recent times, sometimes matching the picture quality of some cameras. While their capability has been amazing, cameras on mobile phones still lag behind DSLR cameras when it comes to picture quality, especially with regard to depth of field, especially in low light, or in overall control. The question is: Is it possible to transform mobile camera quality into DSLR camera quality?
The short answer is that, though mobile cameras cannot quite match the physical and technical prowess of a DSLR camera, there are various techniques and tools available that can quite significantly improve a mobile camera’s performance in order to give results similar to those from a DSLR. This article provides an overview of how you can maximize your smartphone camera’s potential with the ability to get the most out of your mobile photography through images that will mimic DSLR quality How to Convert Camera Quality on Mobile to DSLR Performance.
Knowing the Difference: Mobile Cameras versus DSLR Cameras
Basic differences are necessary before we enter into the details of how to improve the quality of the photograph clicked from mobile.
Sensor Size: Probably one of the most major facts about DSLRs is their large sensor size, which greatly contributes to good image quality. Larger sensors capture more light; hence, they allow better low-light performance with less noise and an improved depth of field. Cameras on mobile phones include much smaller sensors; hence, the capability of capturing light is limited.
Lens Versatility: DSLRs are fitted with interchangeable lenses. Theoretically, this allows a photographer to select the most appropriate lens for the requirements of the individual image being captured-wide-angle lenses, macro lenses, portrait lenses, and so on. The only cameras that feature fixed lenses on most mobile devices; though some high-end smartphones feature multiple cameras with different focal lengths.
Manual: DSLRs fully allow for manual settings of ISO, shutter speed, and aperture. Mobile phones have traditionally been more automated, with the number of recent smartphone apps increasing manual control in picture creation.
Bokeh Dept of Field: Bokeh dept. of field or blurred background effect is way easier to get in a DSLR due to its larger sensor and wider aperture, whereas the mobile cameras are trying their best to get this effect, which doesn’t sound good every time. Fortunately, with the recent improvements in software processing, this effect is becoming feasible to obtain.
The Key Techniques to Enhance Quality in Mobile Cameras
Now that it gets the differences out of the way, here’s how you can optimize your mobile camera to make it perform like a DSLR:.
1. Manual Control Using Pro Mode
Most new smartphones have some form of “Pro” or “Manual” mode, which allows users to take control of the most basic settings like ISO, shutter speed, and white balance. When you master all these key settings yourself, that can offer significantly better shots, especially in very adverse conditions, low light for instance.
ISO: Keep the ISO as low as possible to avoid the ‘noise’ factor. Higher ISO increases the sensitivity towards light and also introduces grainy elements in the image.
Shutter speed refers to the time a camera shutter is open to expose the light. Changing it allows you to freeze a moving subject with either a fast shutter or create a motion blur with a slow one.
Aperture: Most phone cameras do not have an adjustable aperture, though some higher-end phone cameras do.
2. Use External Lenses
However, there are clip-on external lenses designed for smartphones in order to make the deal more like DSLR lenses. For better versatility, wide-angle, telephoto, and macro photography is allowed with these lenses. You may attach high-quality lenses with the brands Moment, Olloclip, and Sandmarc to your mobile phone.
Wide-angle lens: best for shooting landscapes or group shots.
Telephoto lenses: It is best suited to shoot the subjects from a long distance, just like a zoom lens on a DSLR.
Macro lenses, which enable extreme close-to shots to capture details.
3. Use a decent tripod
The most notable advantages of the DSLR are stability, which it receives from its weight and ergonomic structure. The mobile phone is light in weight, and that makes it easier to shake; you might have a blur effect on images, especially when shooting on low-light conditions or with slow exposure. A small and portable tripod can stabilize your mobile phone and enable you to take sharper images even when operating in night mode or using slower shutter speeds.
4. Advanced Features Camera Apps
While the default camera application on either your smartphone or tablet does a great job for regular, everyday photography, the advanced features offered through third-party applications take your mobile photography closer to DSLR quality. Applications like Adobe Lightroom Mobile, ProCamera, and Halide provide users with an end-to-end shooting mode in RAW format, hence much greater detail and flexibility in post-processing.
RAW shooting keeps all the data from the sensor while JPEG compresses and discards some image information. That, of course allows for more creative editing, where you can adjust the exposure, change the white balance, and recover details hidden in both highlights and shadows-all things DSLRs can do.
Post-processing to give it a DSLR feel.
Even with all the above tips, it’s unlikely you get a raw mobile shot the equivalent of a DSLR picture in quality. It is here that post-processing can really do wonders and elevate your photos to almost professional estates. Below is a list of some of the tool and techniques that will be applied in achieving said DSLR-like results:
1. Powerful Editing Software
Apps like Adobe Lightroom, Snapseed, and VSCO provide these powerful features for exposure correction, noise reduction, and color grading among others. That is why shooting in RAW shines here: you can recover lost details in shadows and highlights, fix color tones, or generally fine-tune the contrast without degrading the image.
2. Noise Reduction At the moment, one of the big challenges faced by cameras in mobile phones has to do with noise, especially when the light condition is low. Most of the photo editing applications feature a number of noise reduction tools that enable you to smoothen those grainy textures and generally improve on clarity.
3. Bokeh and Depth of Field Simulation, While cameras on mobile phones can never achieve shallow depth of field like a dedicated camera, through software algorithms they can often simulate it: portrait mode. If your phone doesn’t have an in-built portrait mode you can accomplish the same effect manually with apps like AfterFocus in post-production by selecting the subject and blurring out the background.
Advanced Techniques and Tools If you want to take your mobile camera even higher, here are some more advanced techniques and gadgets that can upgrade your photography: ND Filters: Neutral Density filters block the amount of light that enters the lens in order to capture a long exposure, even in bright conditions. In landscape photography, this technique has been used as a visual effect for silky-smooth water. Light Accessories: Good lighting is important for any camera, and though DSLRs obviously act much better in low light, you can also set up your mobile shots with external LED lights or portable reflectors to control the ambient lighting environment much better.
Thus, some software AI can be used for auto-enhancing an image, automatic settings adjustment depending on the scene, and even removing unwanted objects from a photo in many flagship phones.
Conclusion
It’s impossible for a mobile camera to completely replace a DSLR, but there is definitely a lot that can be done in boosting its performance: learning how to use manual settings to your advantage, imposing additional accessories like lenses and even tripods, taking advantage of more advanced apps, and improving post-processing skills. You’ll take mobile photography to the next level by learning how you can take advantage of manual settings, adding extra help like lenses and even tripods, using more advanced apps, and sharpening your post-processing skills. With the right tools and techniques, you’d be amazed at just how close you can get to DSLR-quality images with your mobile camera.


